This is the place where you can view and manage the billing information.
Important
This documentation applies if you created an account from our website. If you purchased CogCache from Microsoft Azure Marketplace, see this page.
How to view billing details
To view the billing details, navigate to the CogCache CMS and then click on the Billing menu option from the left side. Or just click this button to navigate right away.
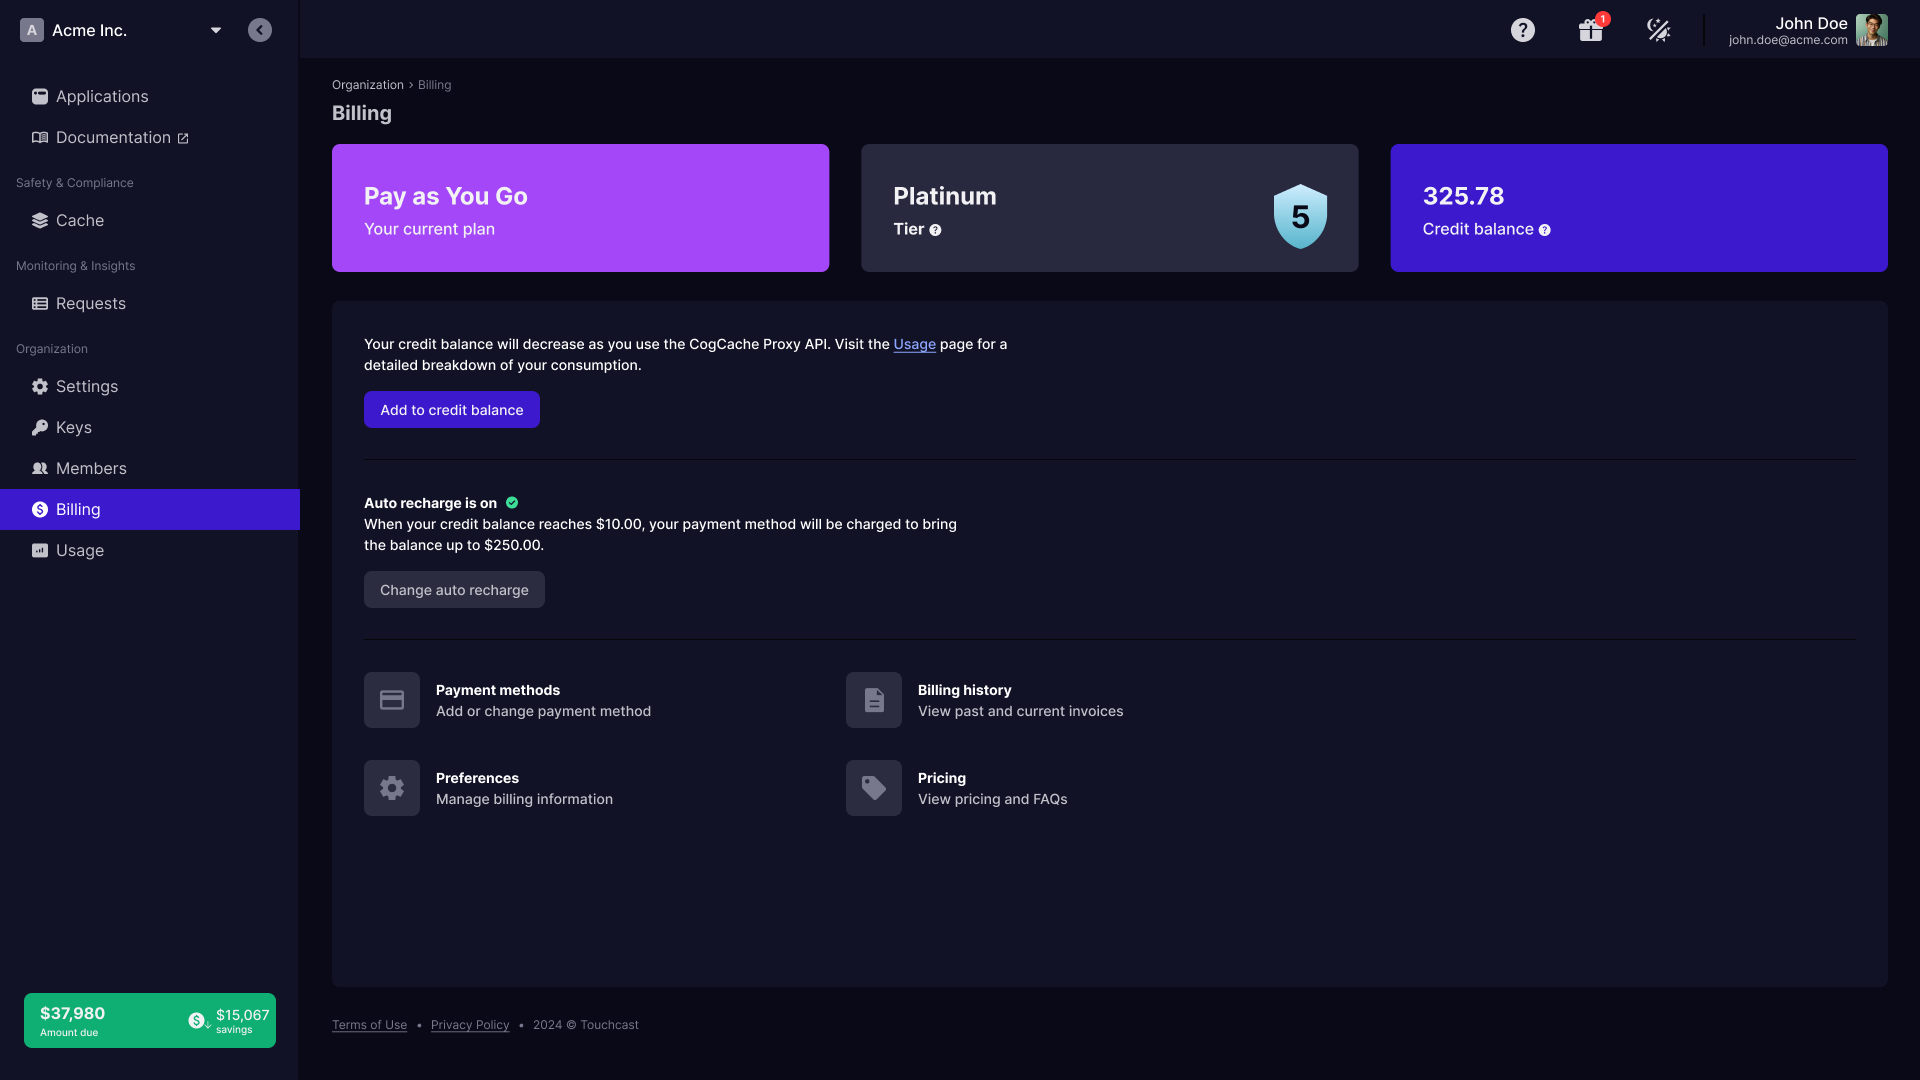
The billing page will allow you to view your current plan, tier and credit balance and manage your billing information.
Good to know
The billing page is accessible only to the owner of the organization.
See the screenshot below:
How to manually add more money to my credit balance
This method allows you to add money to your CogCache account at any time.
Follow these steps:
-
Navigate to the Billing page.
-
Click on the Add to credit balance button.

-
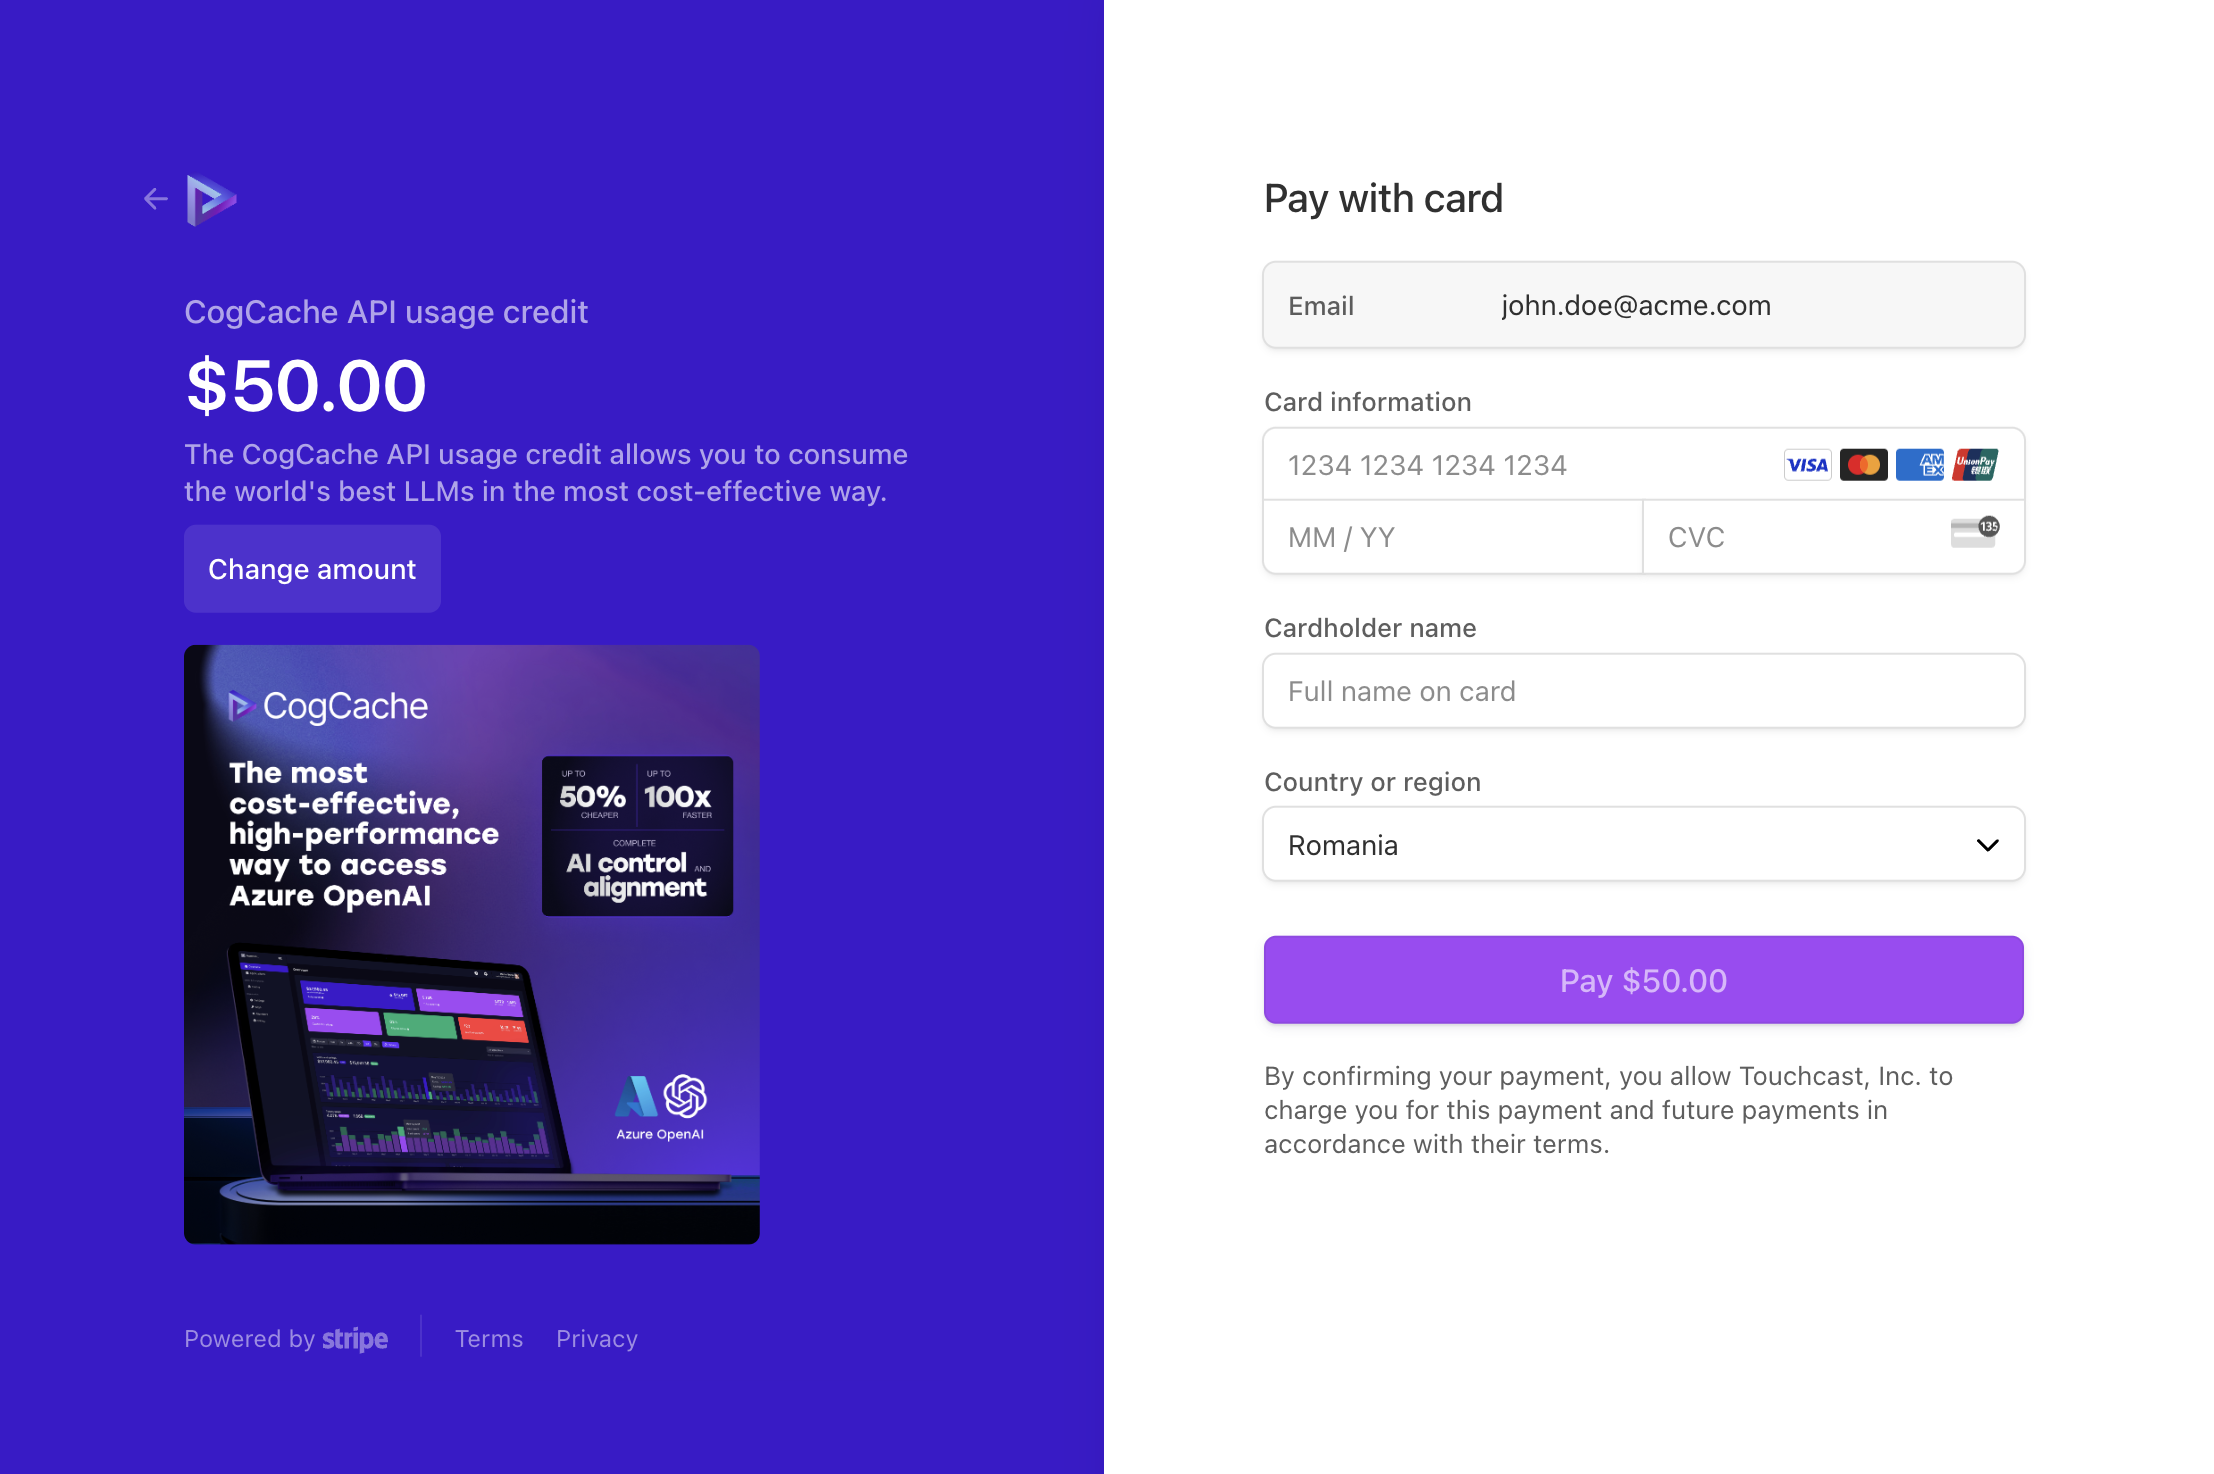
Next, you will be redirected to the payment page where you will be asked to enter your card.
-
Once the payment is successfully done, you will be redirected back to the CogCache billing page and you should see your credit balance updated.

-
That's it. You will be receiving in minutes a transaction confirmation email with the associated invoice and receipt.
How to automatically recharge my credit balance
This method allows you to add money to your CogCache account automatically when the credit balance goes below a certain threshold.
GOOD TO KNOW - we automatically enable auto recharge for you upon account creation, but you will need to make sure to have a card on file to avoid failed payments.
Follow these steps to enable the auto recharge:
-
Navigate to the Billing page.
-
Click on the Enable auto recharge button.

-
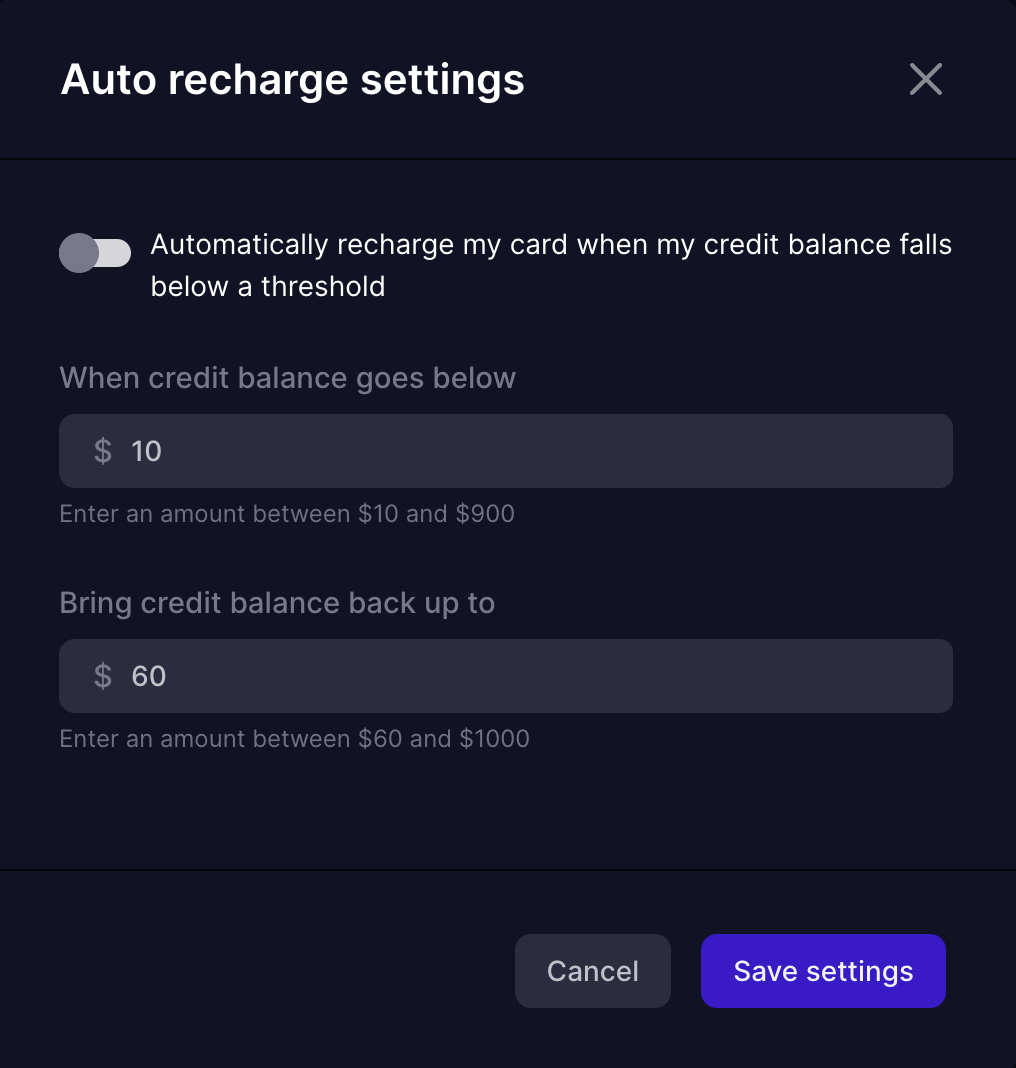
Next, a popup will open. Click on the toggle button to enable the auto recharge. Additionally, adjust the values for when the auto recharge should kick in and what should be the desired credit balance after the recharge is completed.
-
Finally, click the Save settings button.
-
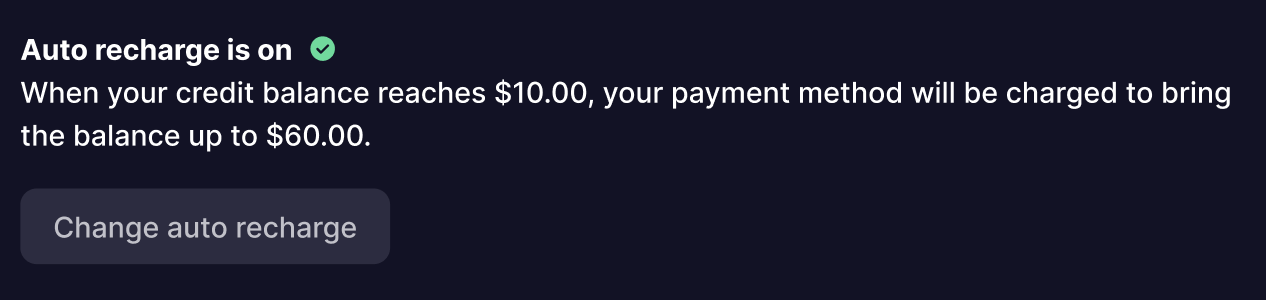
The popup will close and you have the confirmation that auto recharge is on.
Good to know
The actual auto recharge will kick in when the credit balance goes below the set threshold. If the payment fails, then an email notification will be sent and the auto recharge will be turned off automatically.
How to view or change the payment methods
Follow these steps:
-
Navigate to the Billing page.
-
Click on the Payment methods button.
-
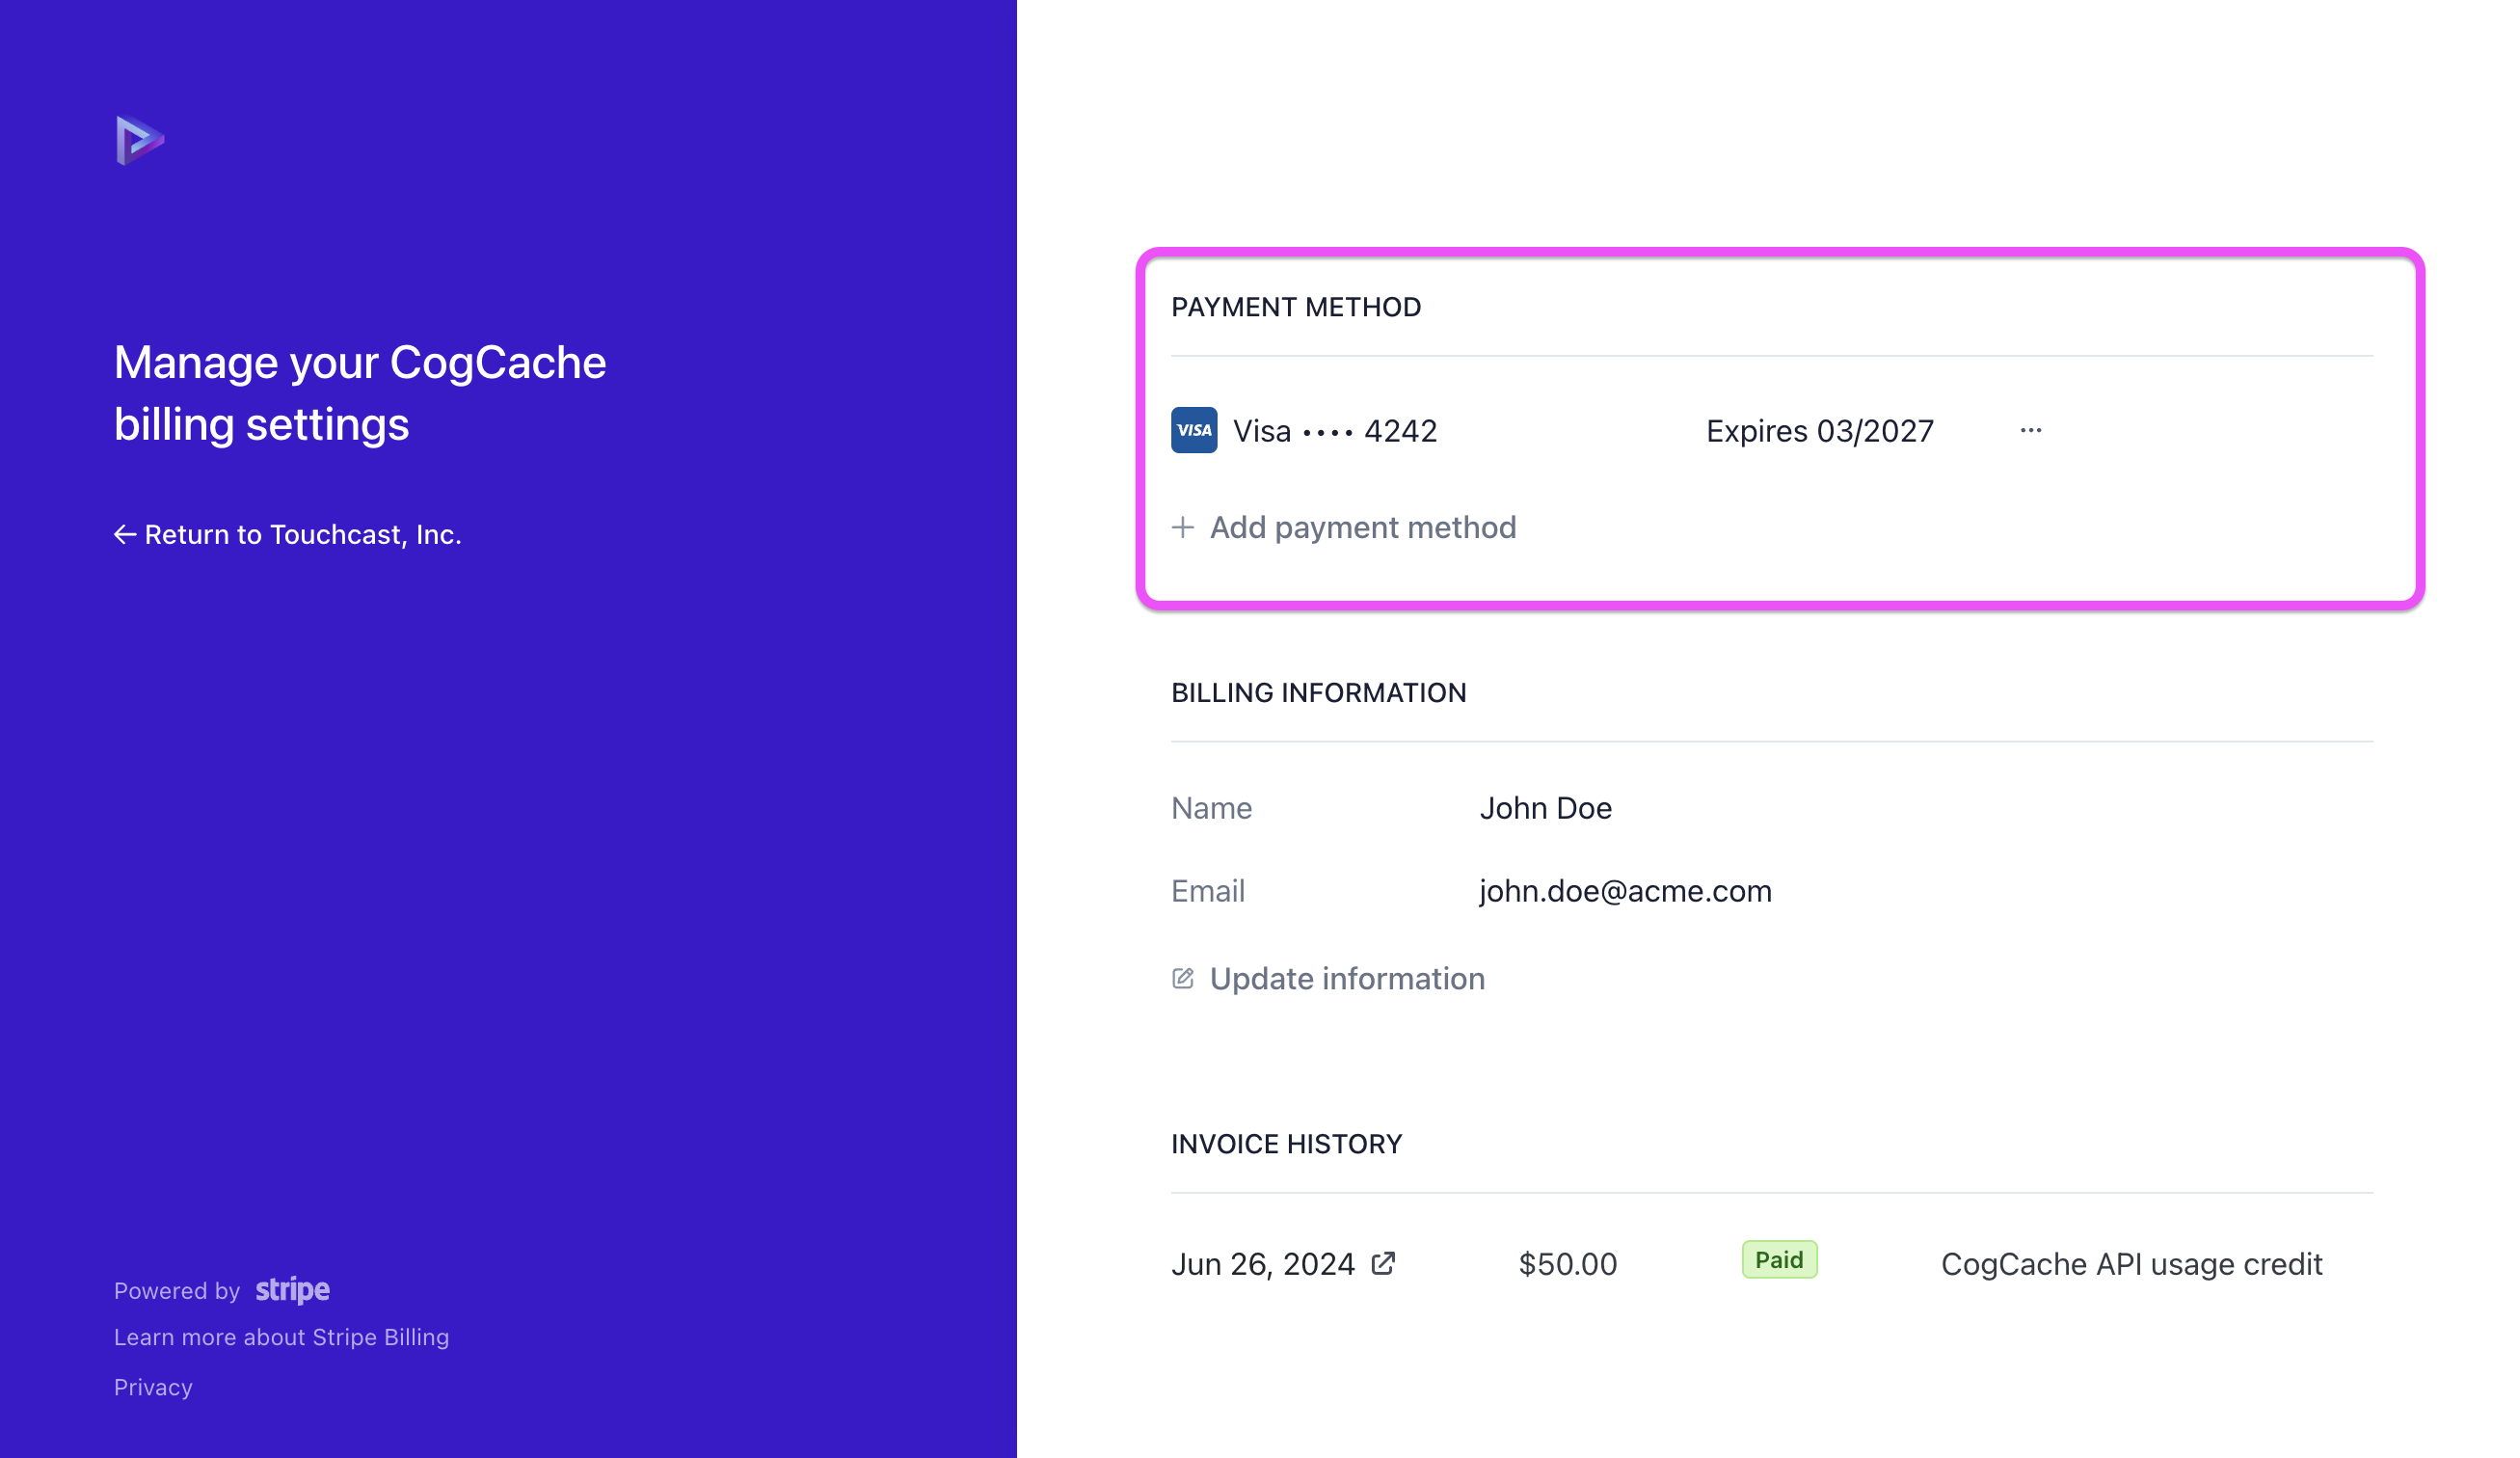
A page will open in a new tab where you have a section where you can view, add or remove payment methods.
-
Once done, you can simply close the page.
How to view invoices or receipts
Follow these steps:
-
Navigate to the Billing page.
-
Click on the Billing history button.
-
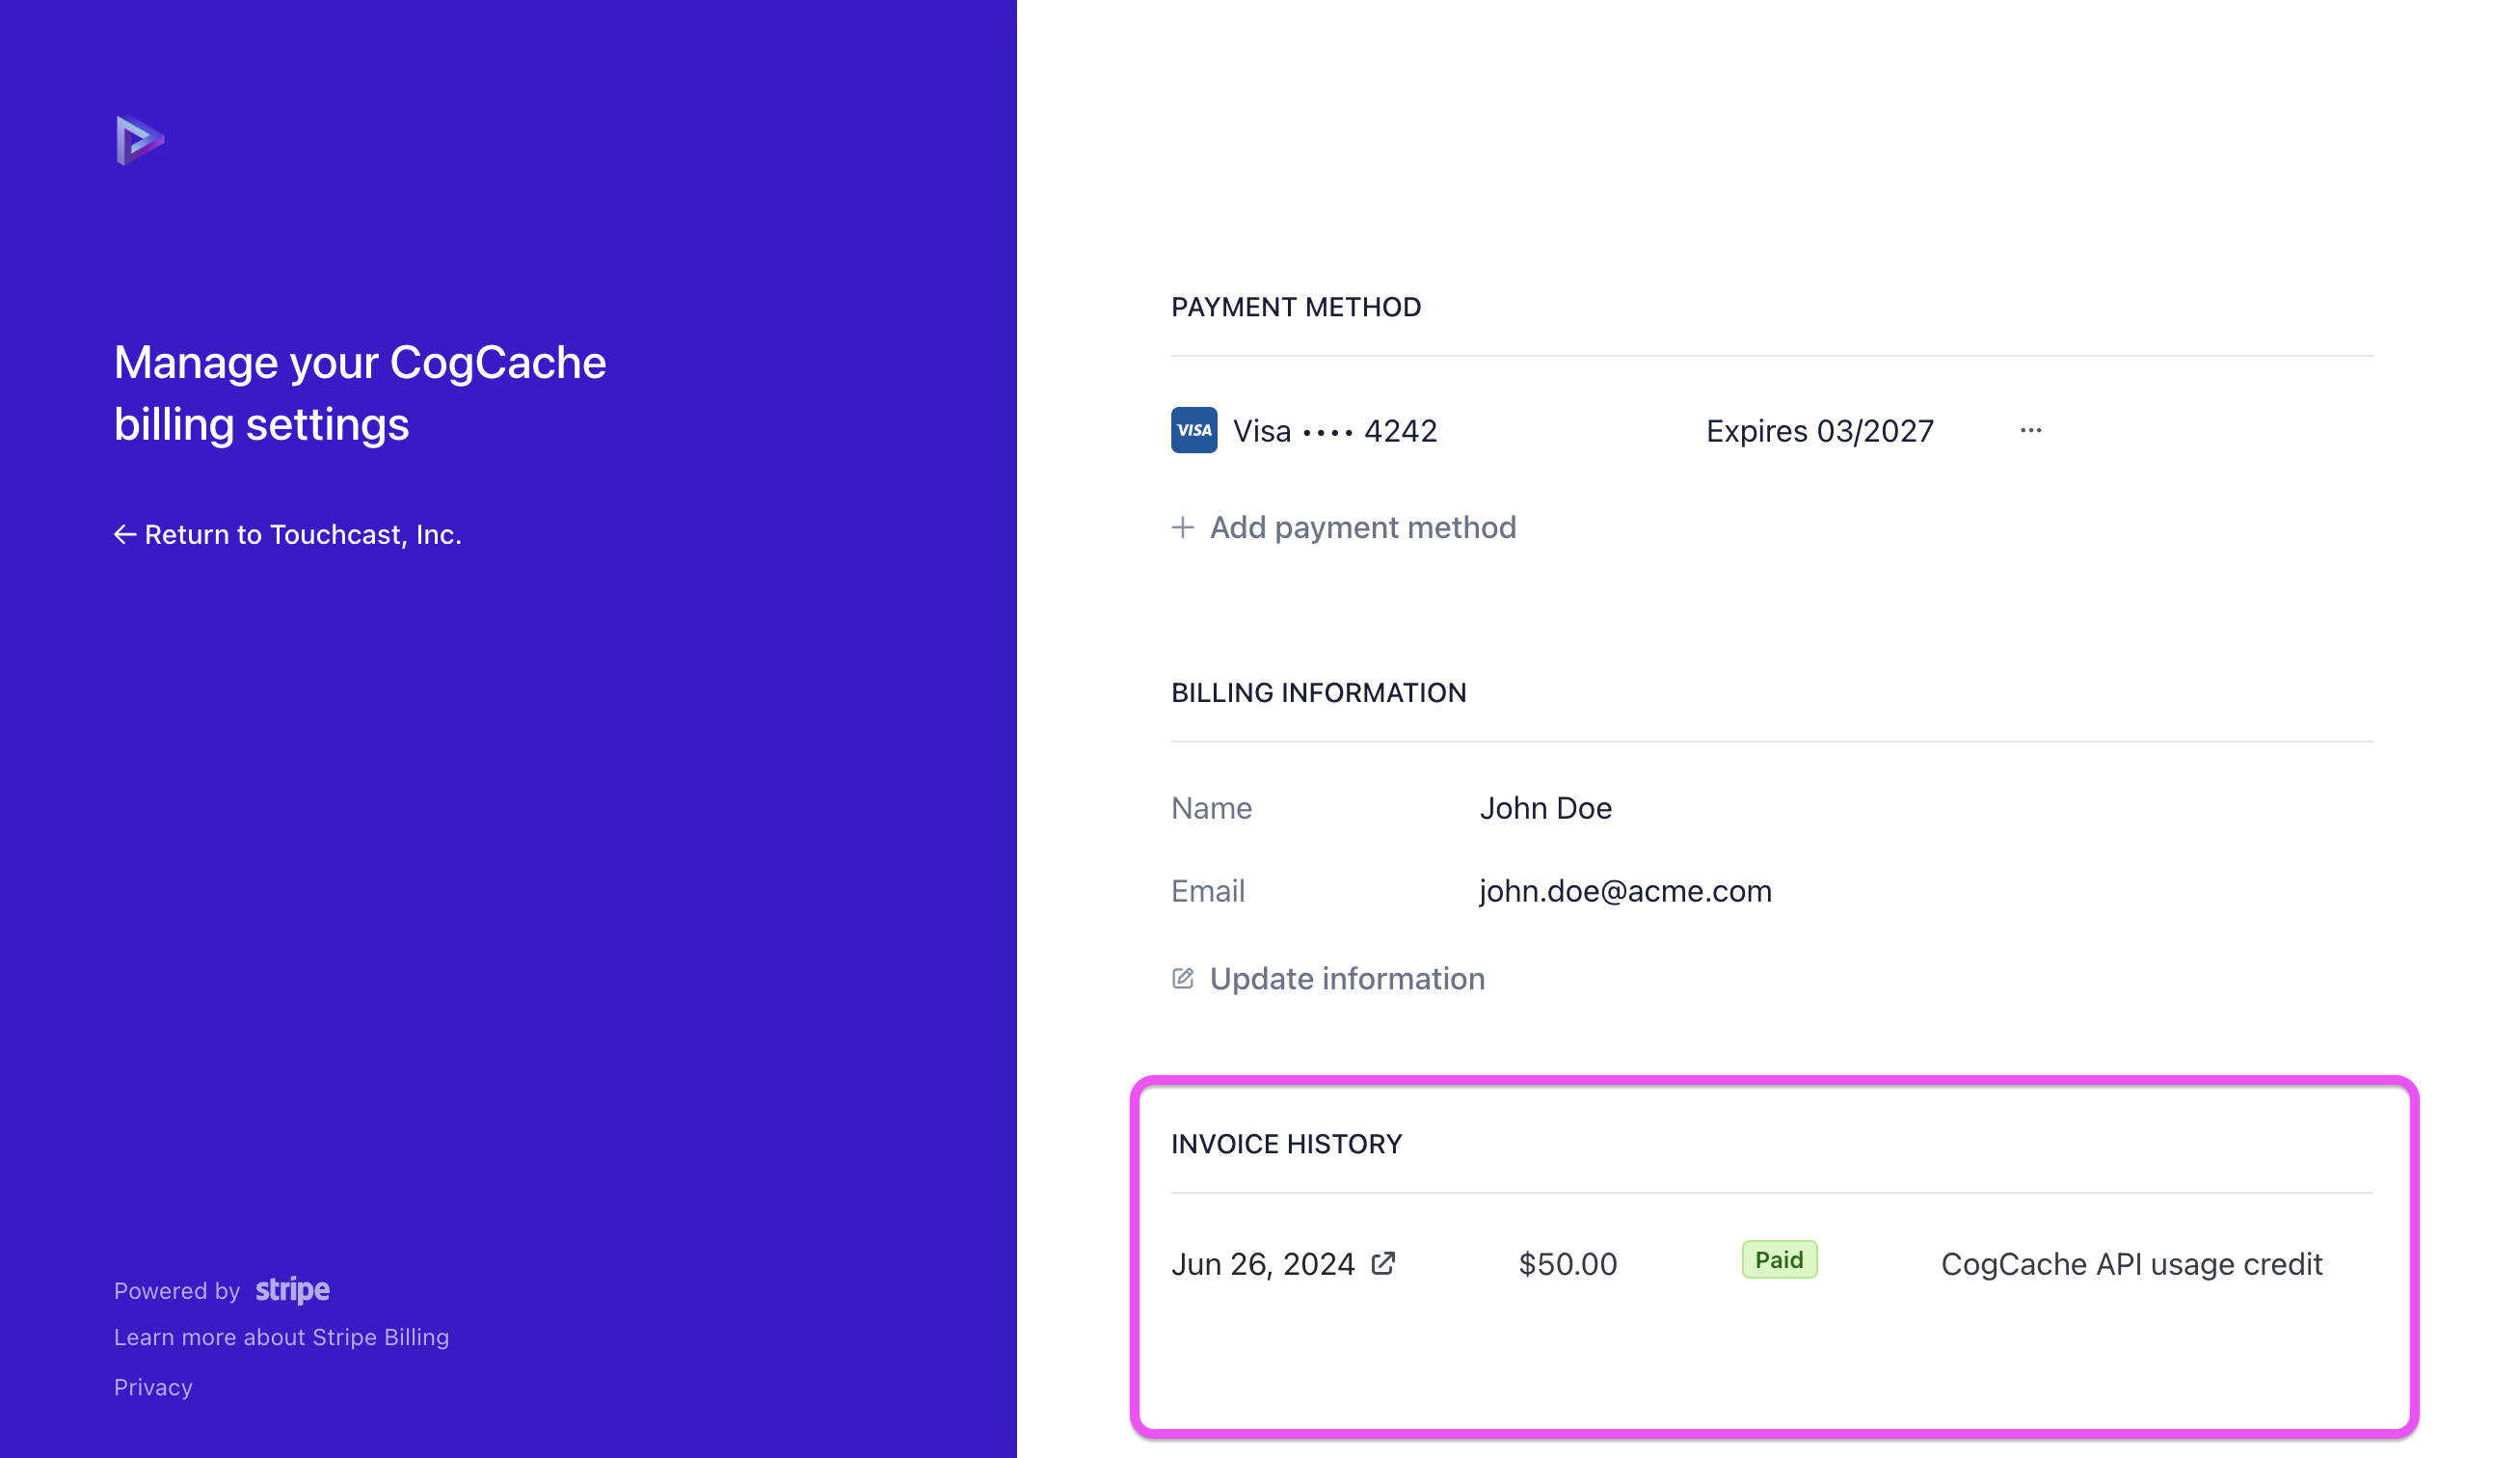
A page will open in a new tab where you have a section where you can view and download your invoices and receipts.
-
Once done, you can simply close the page.
How to change billing information
Follow these steps:
-
Navigate to the Billing page.
-
Click on the Preferences button.
-
A page will open in a new tab where you have a section where you can manage the billing information.
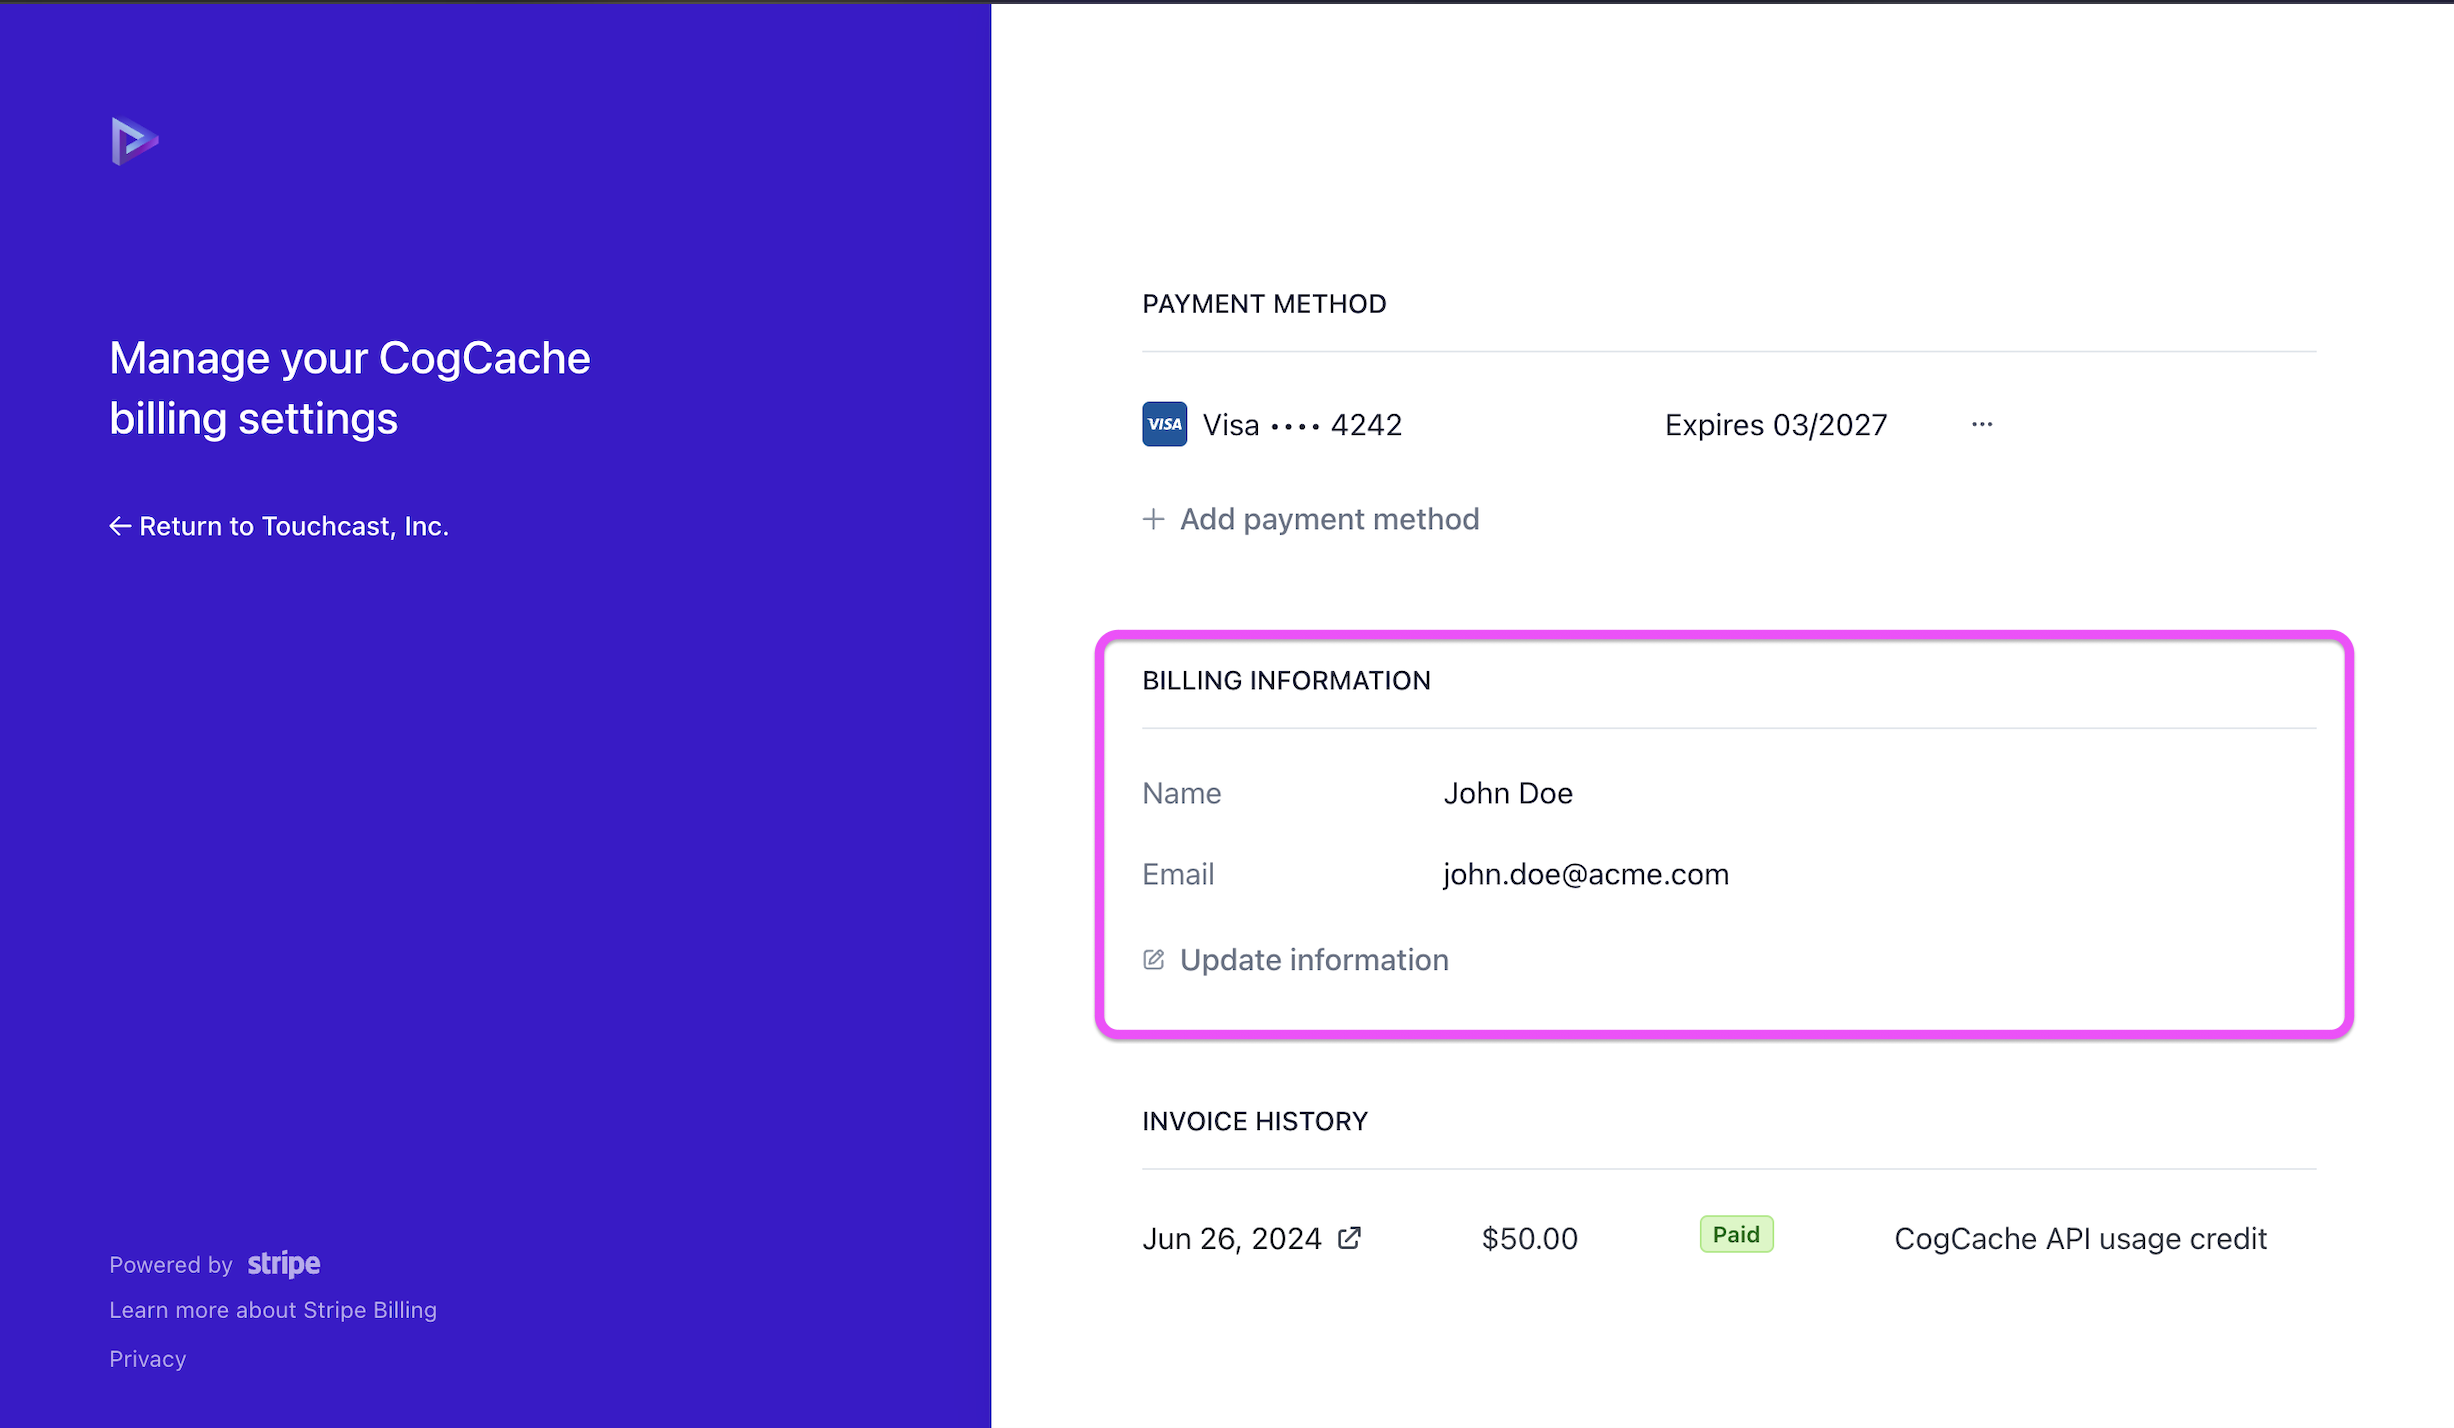
-
Once done, you can simply close the page.
FAQs
Why my credit balance is below 0?
Sometimes the credit balance can go below 0 as the APIs might still work for a while while our automated systems blocks your service due to out of credits.
Note that when you credit your account with money we will first have to cover the negative balance.